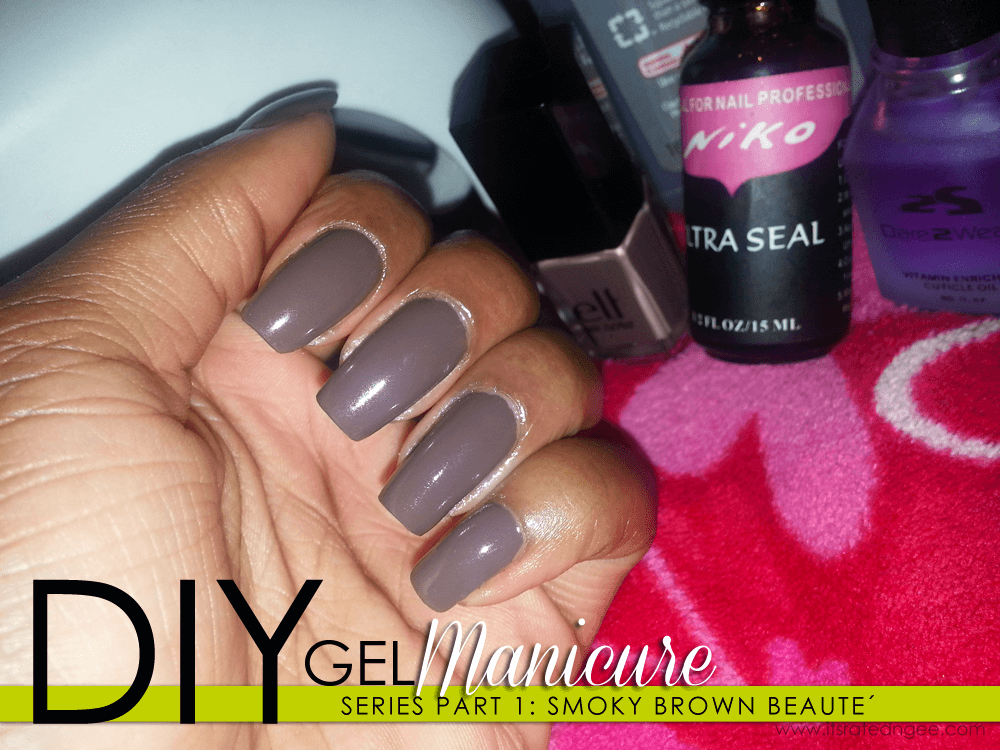
Hey you lovely people! I’m excited about the month of October. Why? This month I plan to share my very first blog series with you on none other than beautiful gel manicures. The DIY Gel Manicure series will share some of my favorite polish colors for Fall weather as well as some beautiful nail art here and there. You’re sure to love it! Check out part one below: Smoky Brown Beauté Gel Manicure
I have come to adore my natural nails so much in the last few months. They’ve gotten longer and a lot stronger since I started taking my Biotin supplements again. NOTE: If you’re a lover of acrylic, I would recommend letting your nails breathe for a while. Especially if you get them done on a regular basis. I haven’t had acrylic on my nails in over a year now.
Is it bad that I have a nail technician certification but it takes me FOREVER and a year to do my nails each time I do them on myself? lol… I’m only a Speedy Gonzalez when I’m working on other people. Any who, let’s get into how you can achieve my diy gel manicure at home. First things first, get those products together! Here is what I use:
- Salon Edge UV Lamp (get it here)
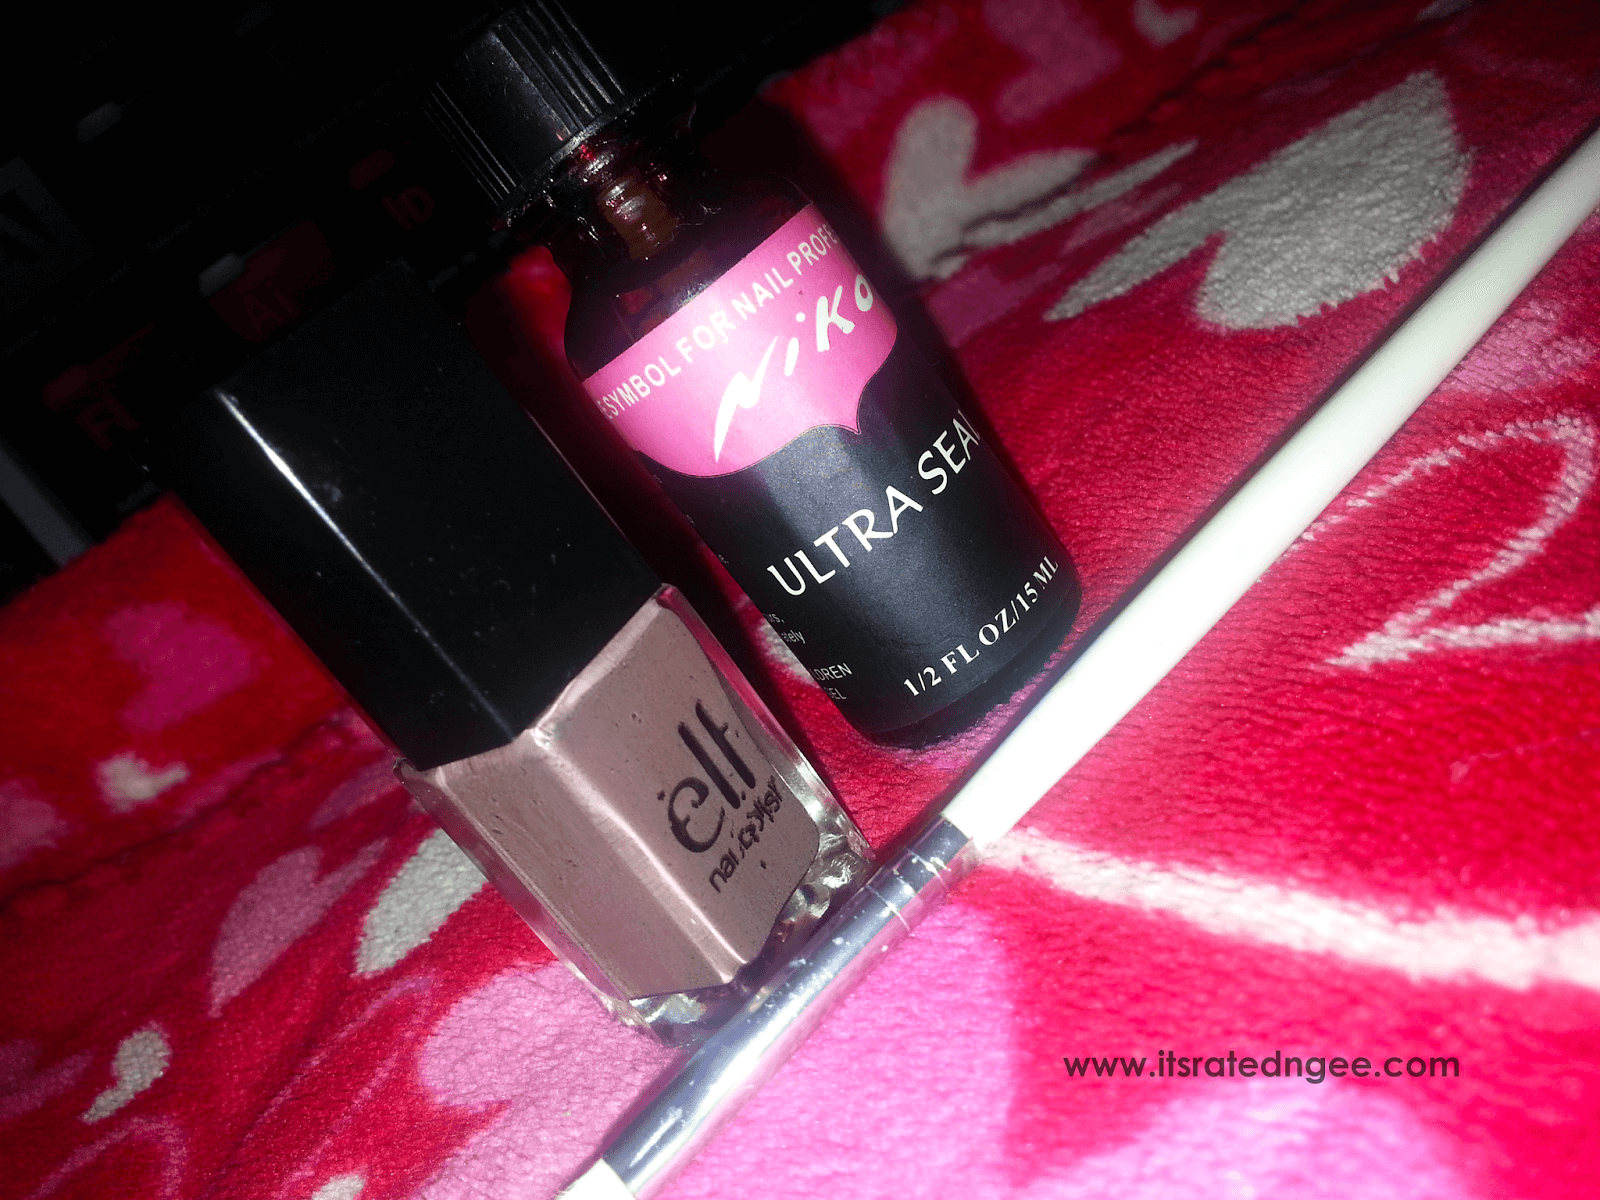
- “Smoky Brown” polish from the ELF Essential 3-Piece Nail Polish Set in Nice & Natural #3813 (get it here)
- LA Colors Nail Treatment Base Coat (get it WAY CHEAPER at Walmart, under $2)
- Niko Professional Ultra Seal Gel Polish
- Small Tipped Paintbrush from brush set (get it at local craft store)
- Equate Non-Acetone Nail Polish Remover (any drugstore brand will do fine)
- Cotton Rounds or Cleansing Pads (get it any local drugstore)
- 70% Isopropyl Rubbing Alcohol (available in any local drug store or Gel Cleanser here)
- Dare2Wear Vitamin Enriched Cuticle Oil (cheaper alternate here). FYI, I didn’t purchase this oil, it was a gift. The alternate is another fave of mines.
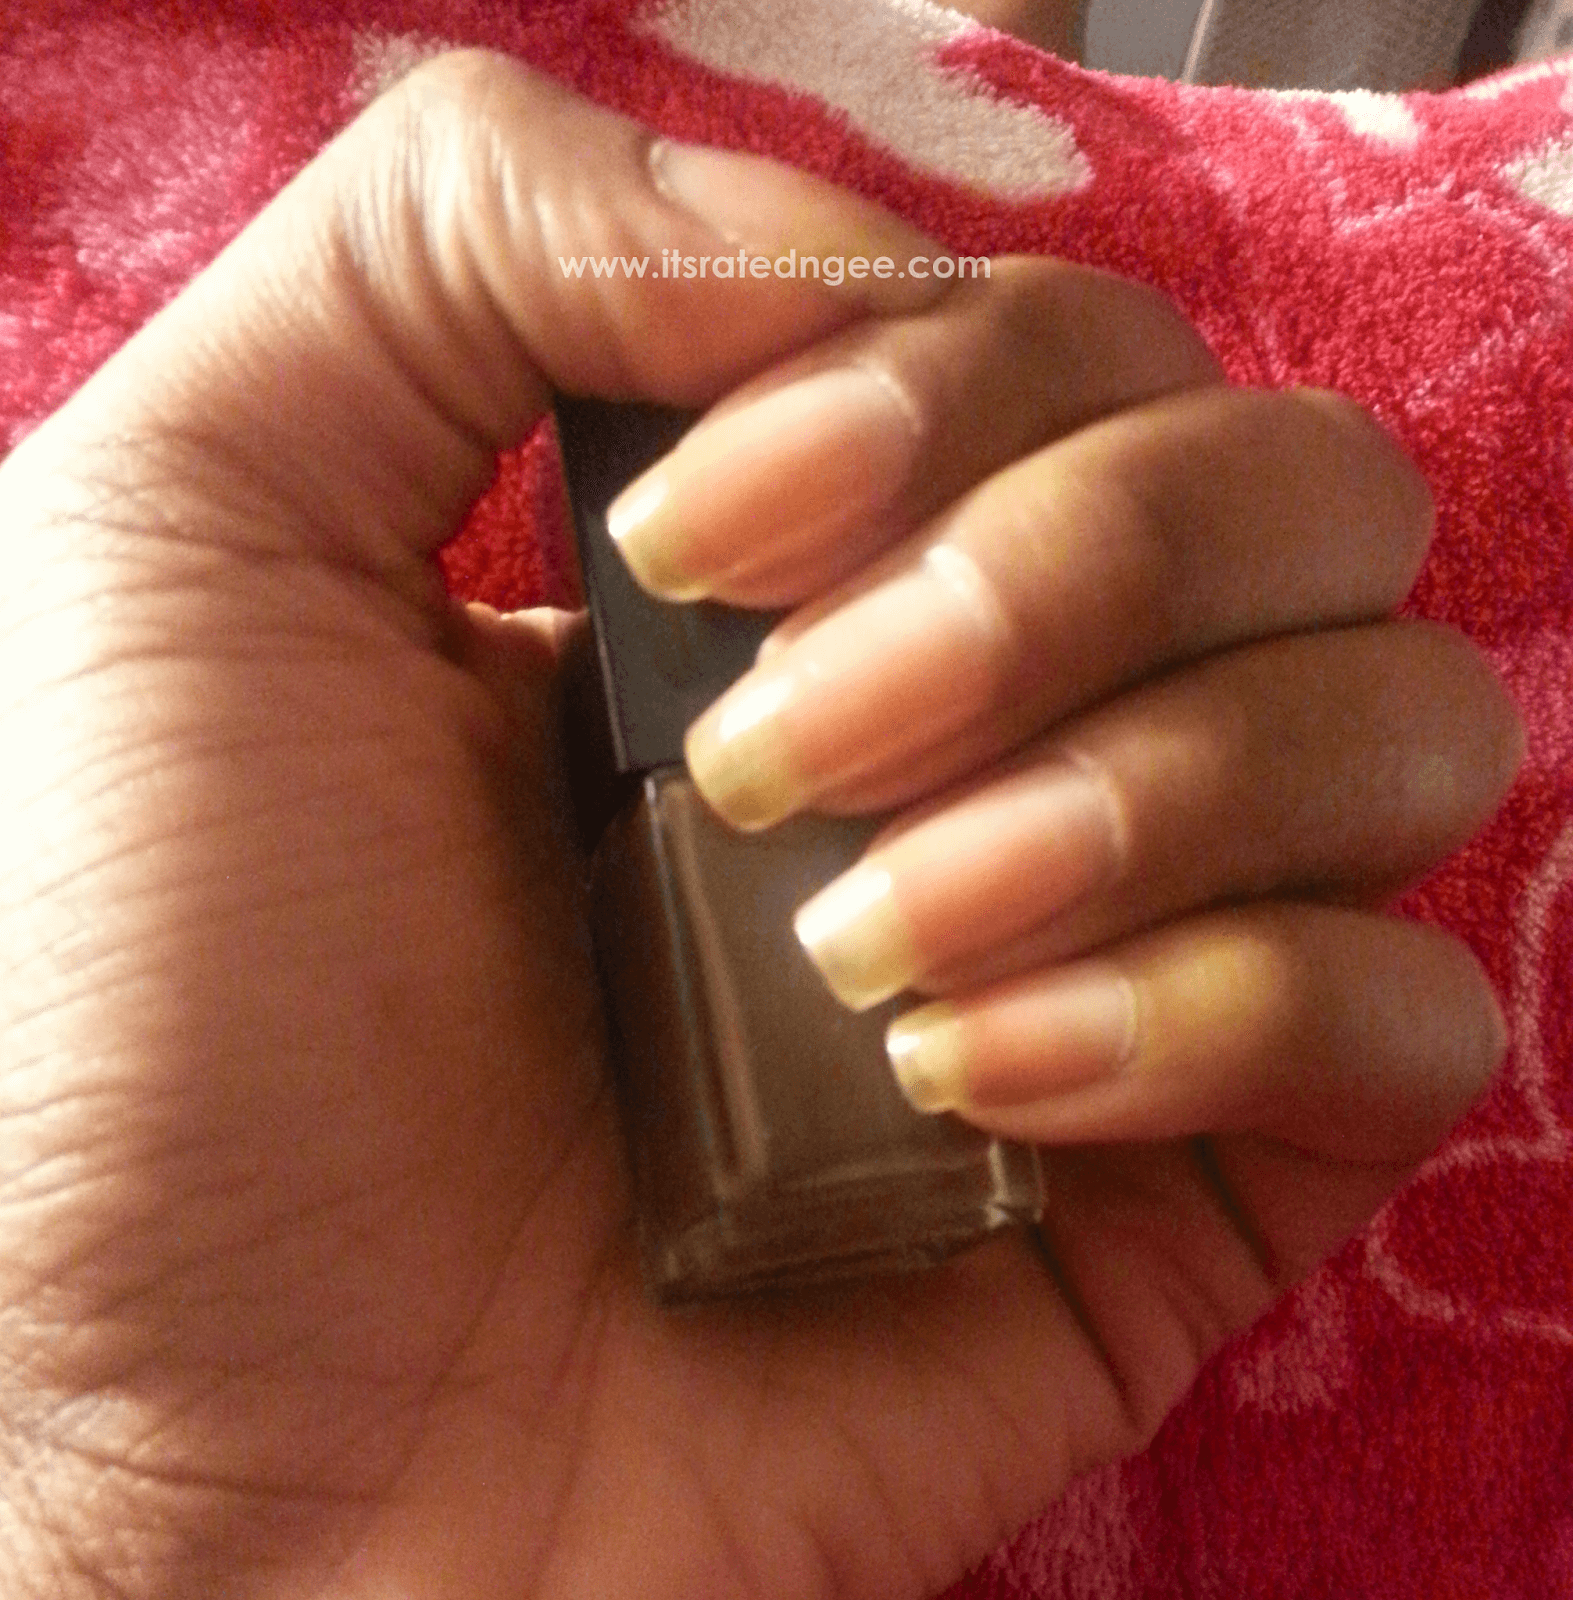
Okay, now that we got that out of the way, here is the oh so wonderful process. Now, you can always use your own favorite product brands and get the same results, these are just items I use personally. You want to start off with clean, DRY, hands. I gave myself a mini-mani while prepping to polish. If you are prone to oily nail beds or even if you want longer wear from your polish, cleaning your nail beds with alcohol or using a nail dehydrator is the way to go. I usually do this after shaping and buffing my nails.
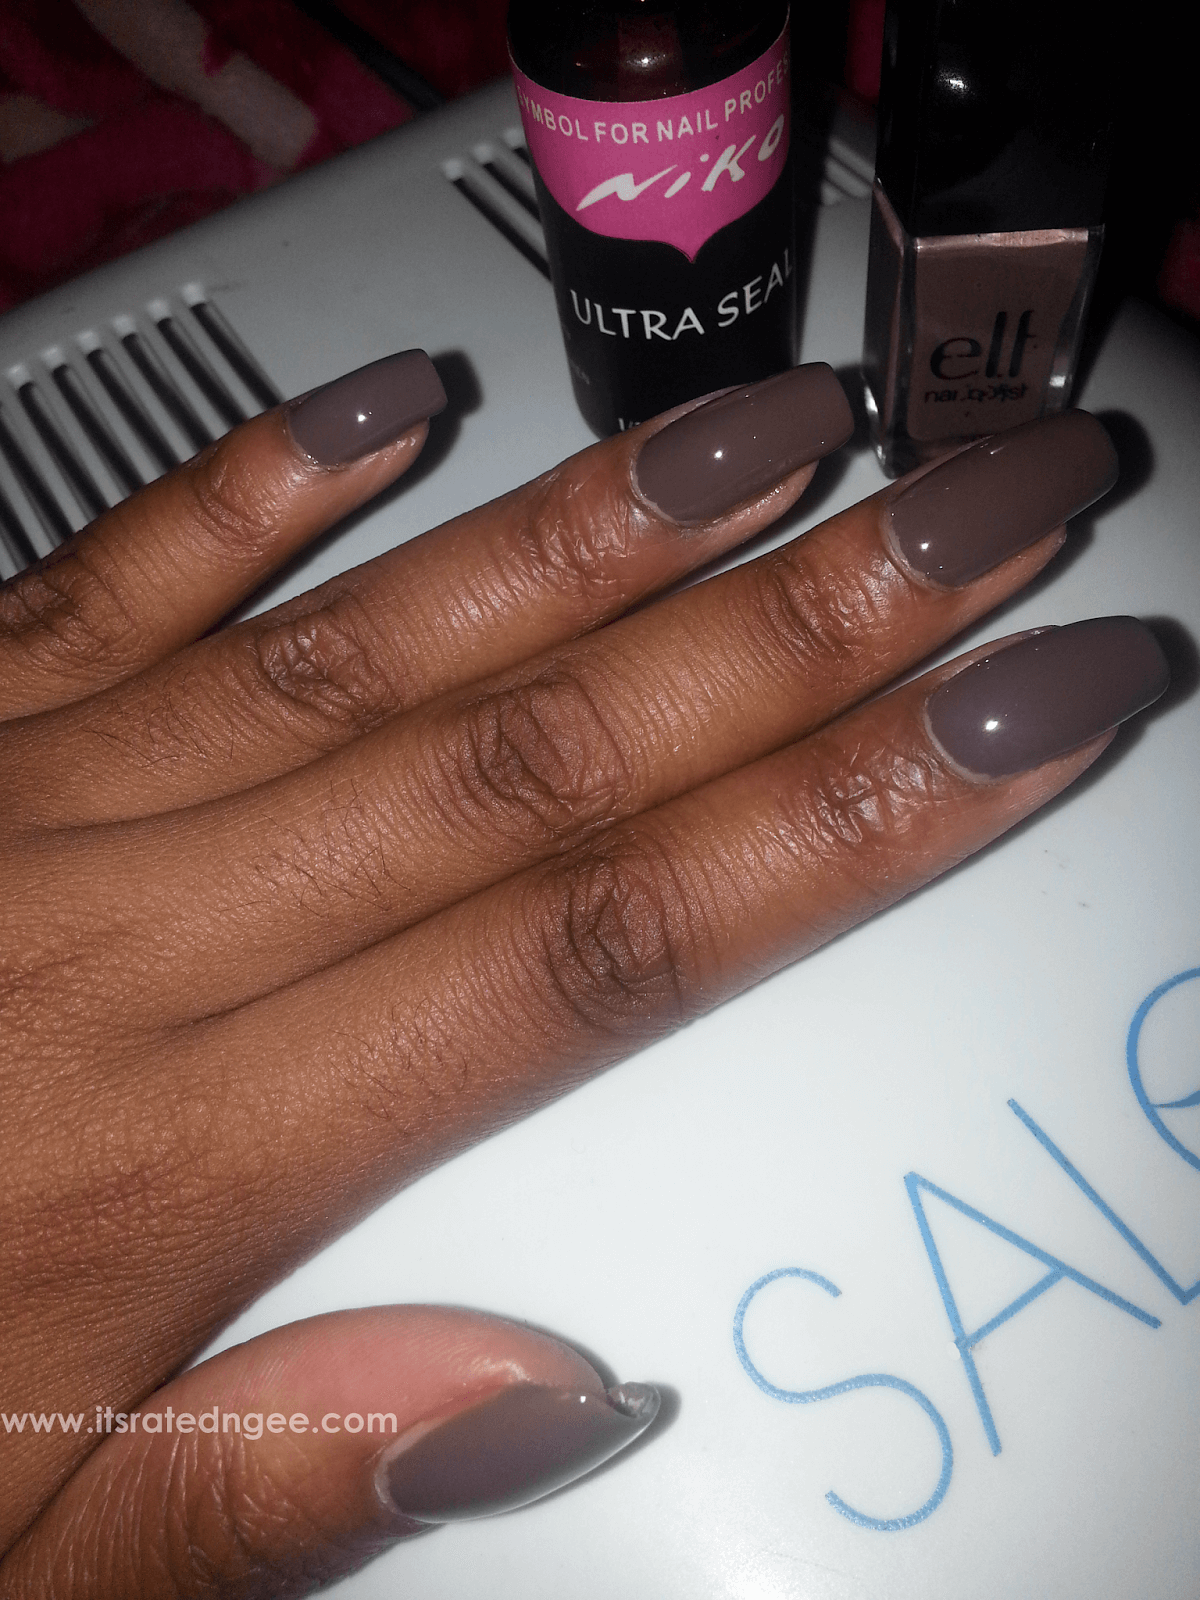
- DIY Gel Manicure Prepping – After prepping your nails, they should look pretty darn spiffy and clean. Mines look oh so fabulous right? lol… of course! This is also the perfect time to apply your base coat or polish bonder.
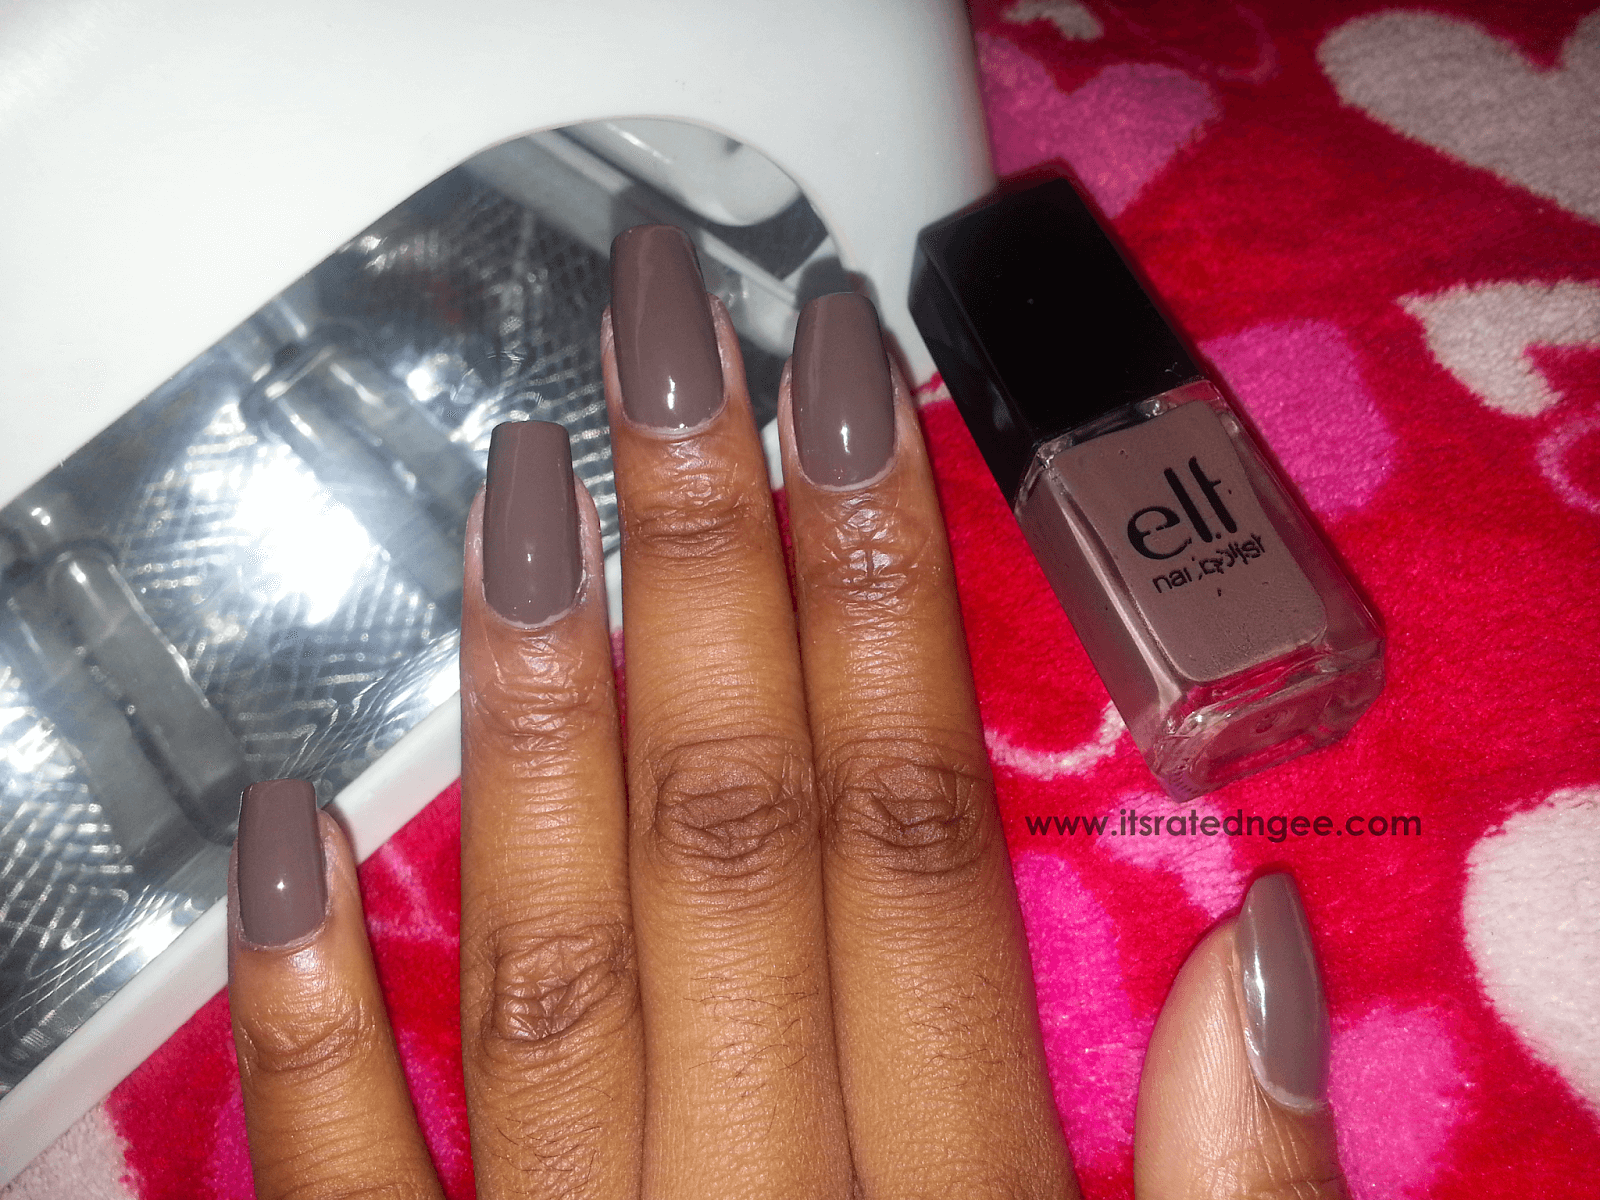
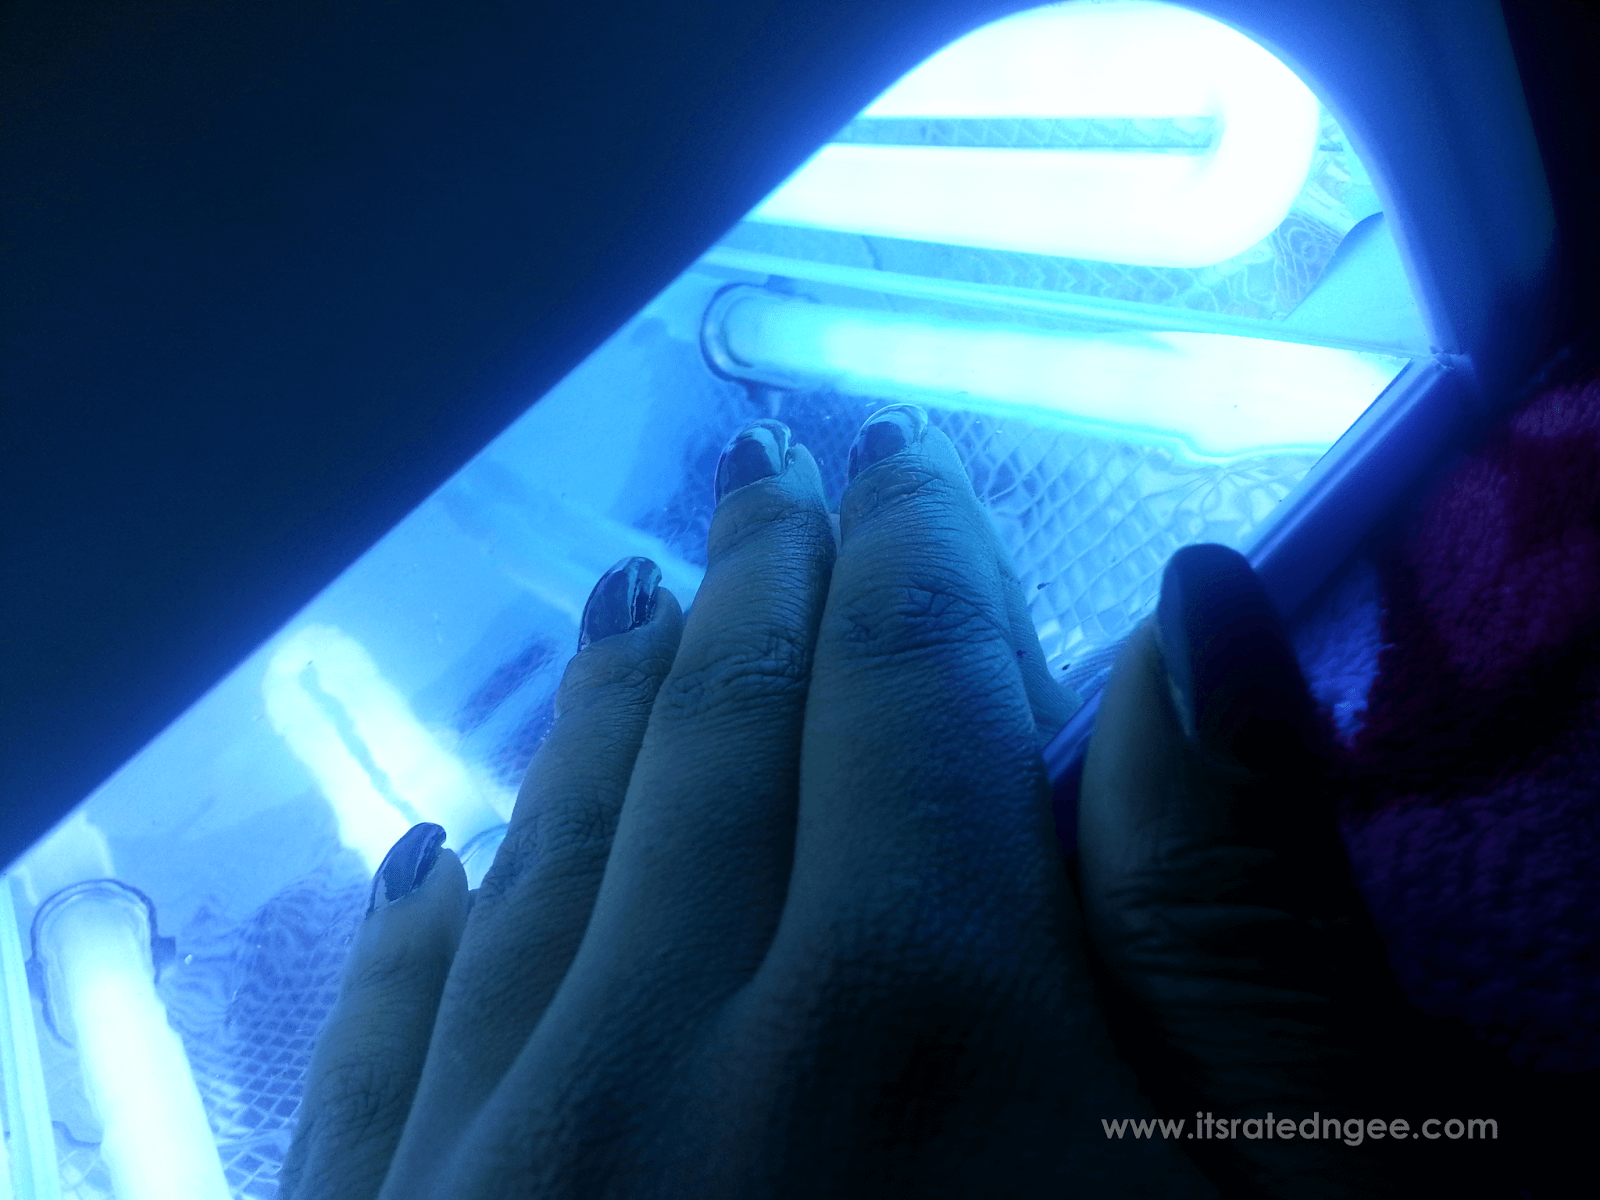
- DIY Gel Manicure Painting- I applied 2-3 coats of polish to give it that deep brown look. Soooooo adorable! I love the color already. You? Apply your color and cure or let dry in between coats. I cured mines for a few seconds. UV light dries ordinary polish instantly. If polish gets on your skin or you make a small error, tak the paintbrush and did it into a bit of acetone and simply clean the mess. Works like a charm. Just dont drown the nail with remover, okay?
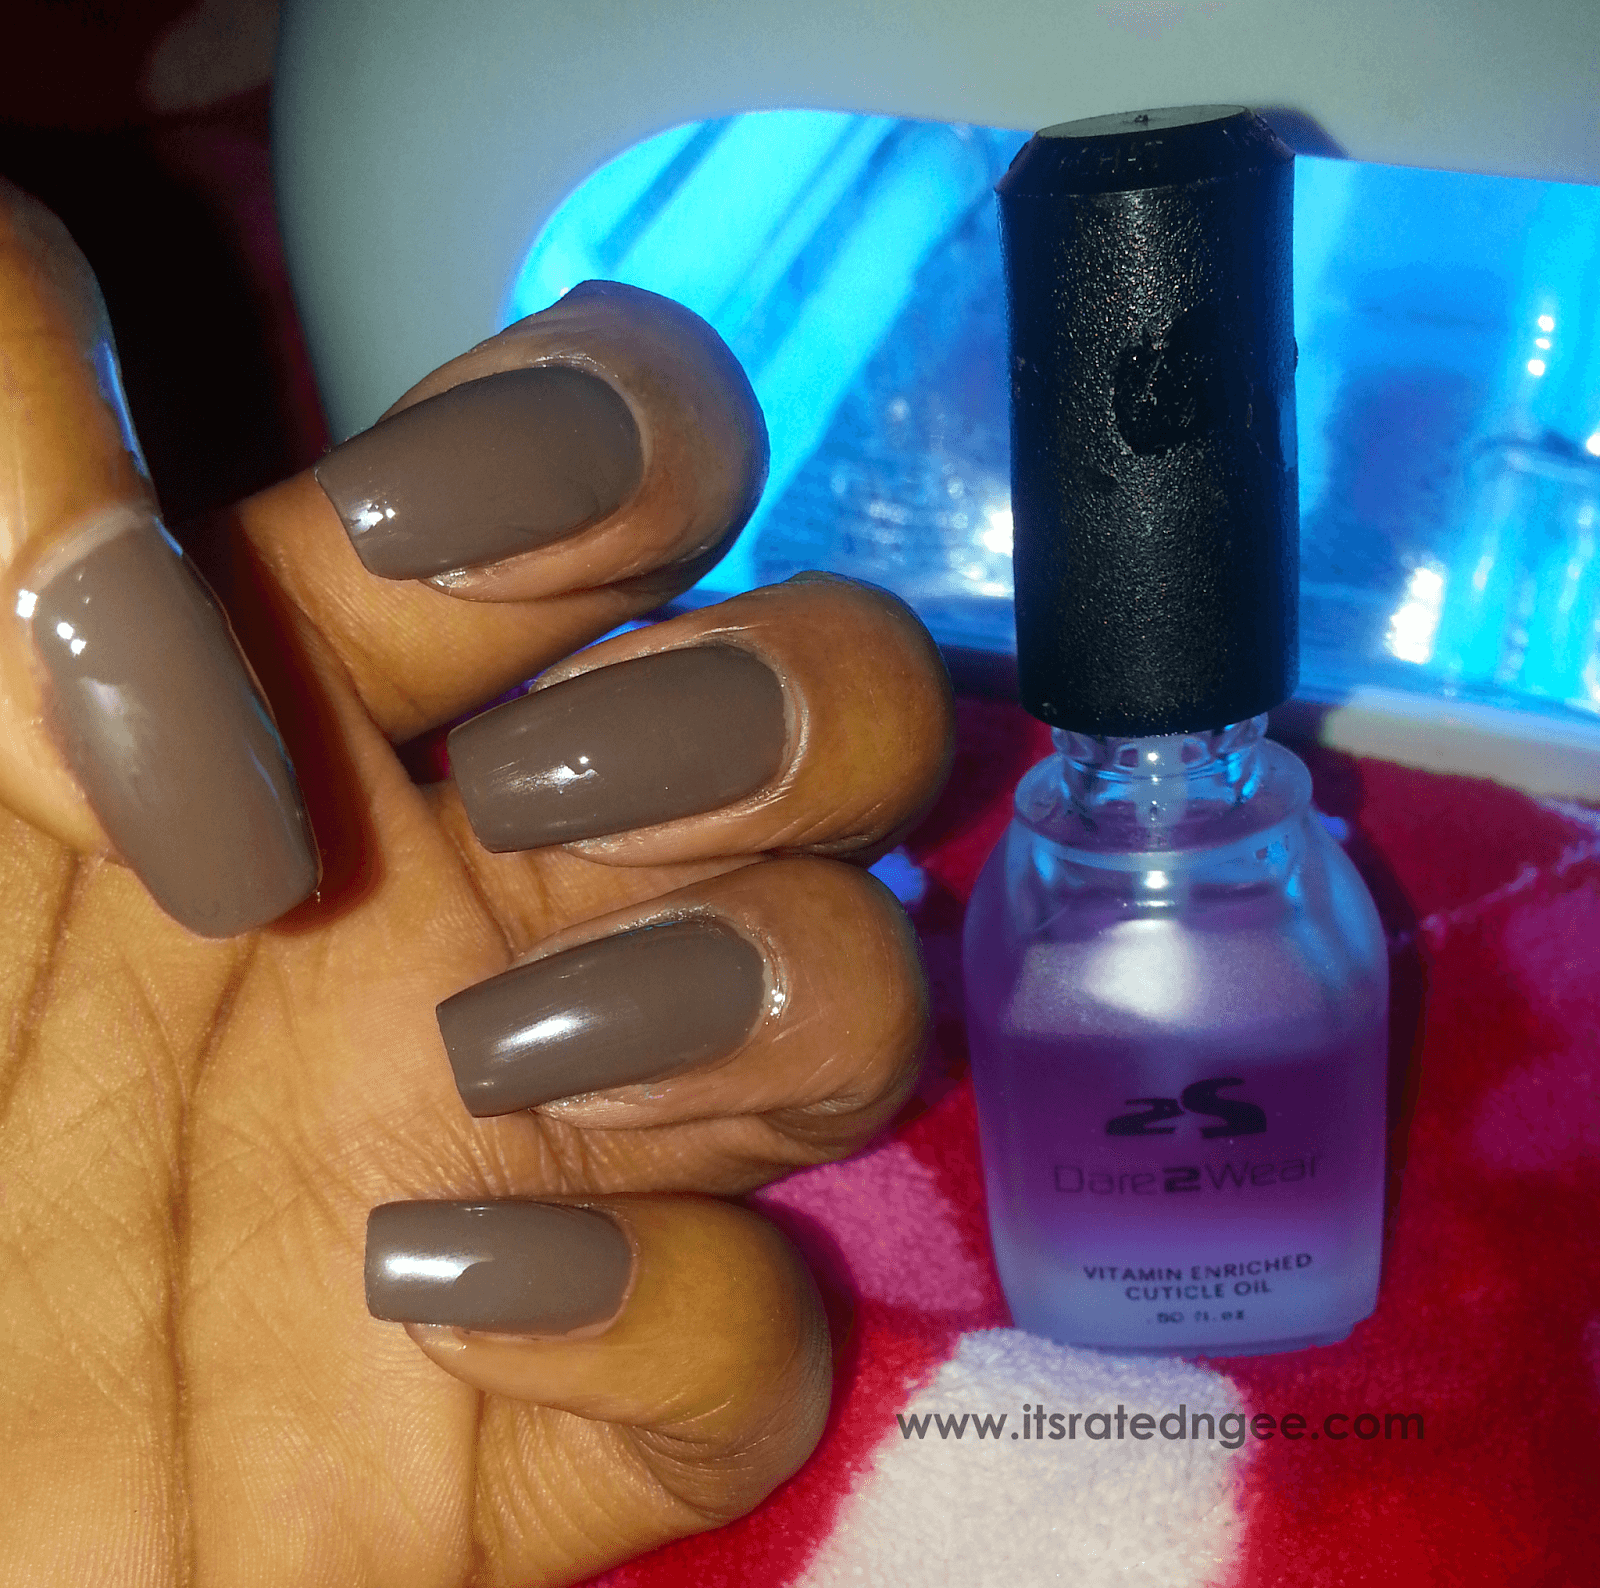
- DIY Gel Manicure Application- After you have gotten your desired color down packed and dried, it’s time to apply your gel top coat. The Niko gel that I used is pretty thick in consistency so if you plan to purchase and use this brand, be ready embrace a mess until you get use to applying the gel. It’s easier than you think. Take the gel, be sure wipe excess off on bottle and apply first layer onto nails. ***This gel is PERFECT for me and gets rid of any “bumps” or ridges as you apply and smooth it on.*** Cure for 1-2 minutes and apply second coat, cure again for 1-2 minutes. It should look quite fabulous like this:
- DIY Gel Manicure Cleansing- Take a cotton round or facial pad and apply your alcohol or gel cleanser to it. I use one pad per hand. Gently begin to wipe away the “tacky” surface of the gel. If you notice that the gel coat is “spotting” or looks as if gel is wiping off the actual nail color, you didn’t cure long enough for the thickness in the gel coat you applied. They should be applied in thin coats but if you made thicker coats, cure for a longer time to avoid this problem.
- DIY Gel Manicure Moisturize- This is the easy part. If you’re using a pretty strong form of alcohol, you may see that the “gloss” of your gel may not be super shiny as it was before your cleaned it off. That’s okay, it’s normal. Here’s a neat trick, after you apply cuticle oil around your nail beds, apply the same oil to your actual nails and rub it in. This creates more shine that lasts. ***I tend to just pop and slap on a few dabs when I oil… doesn’t need to be perfect :)***
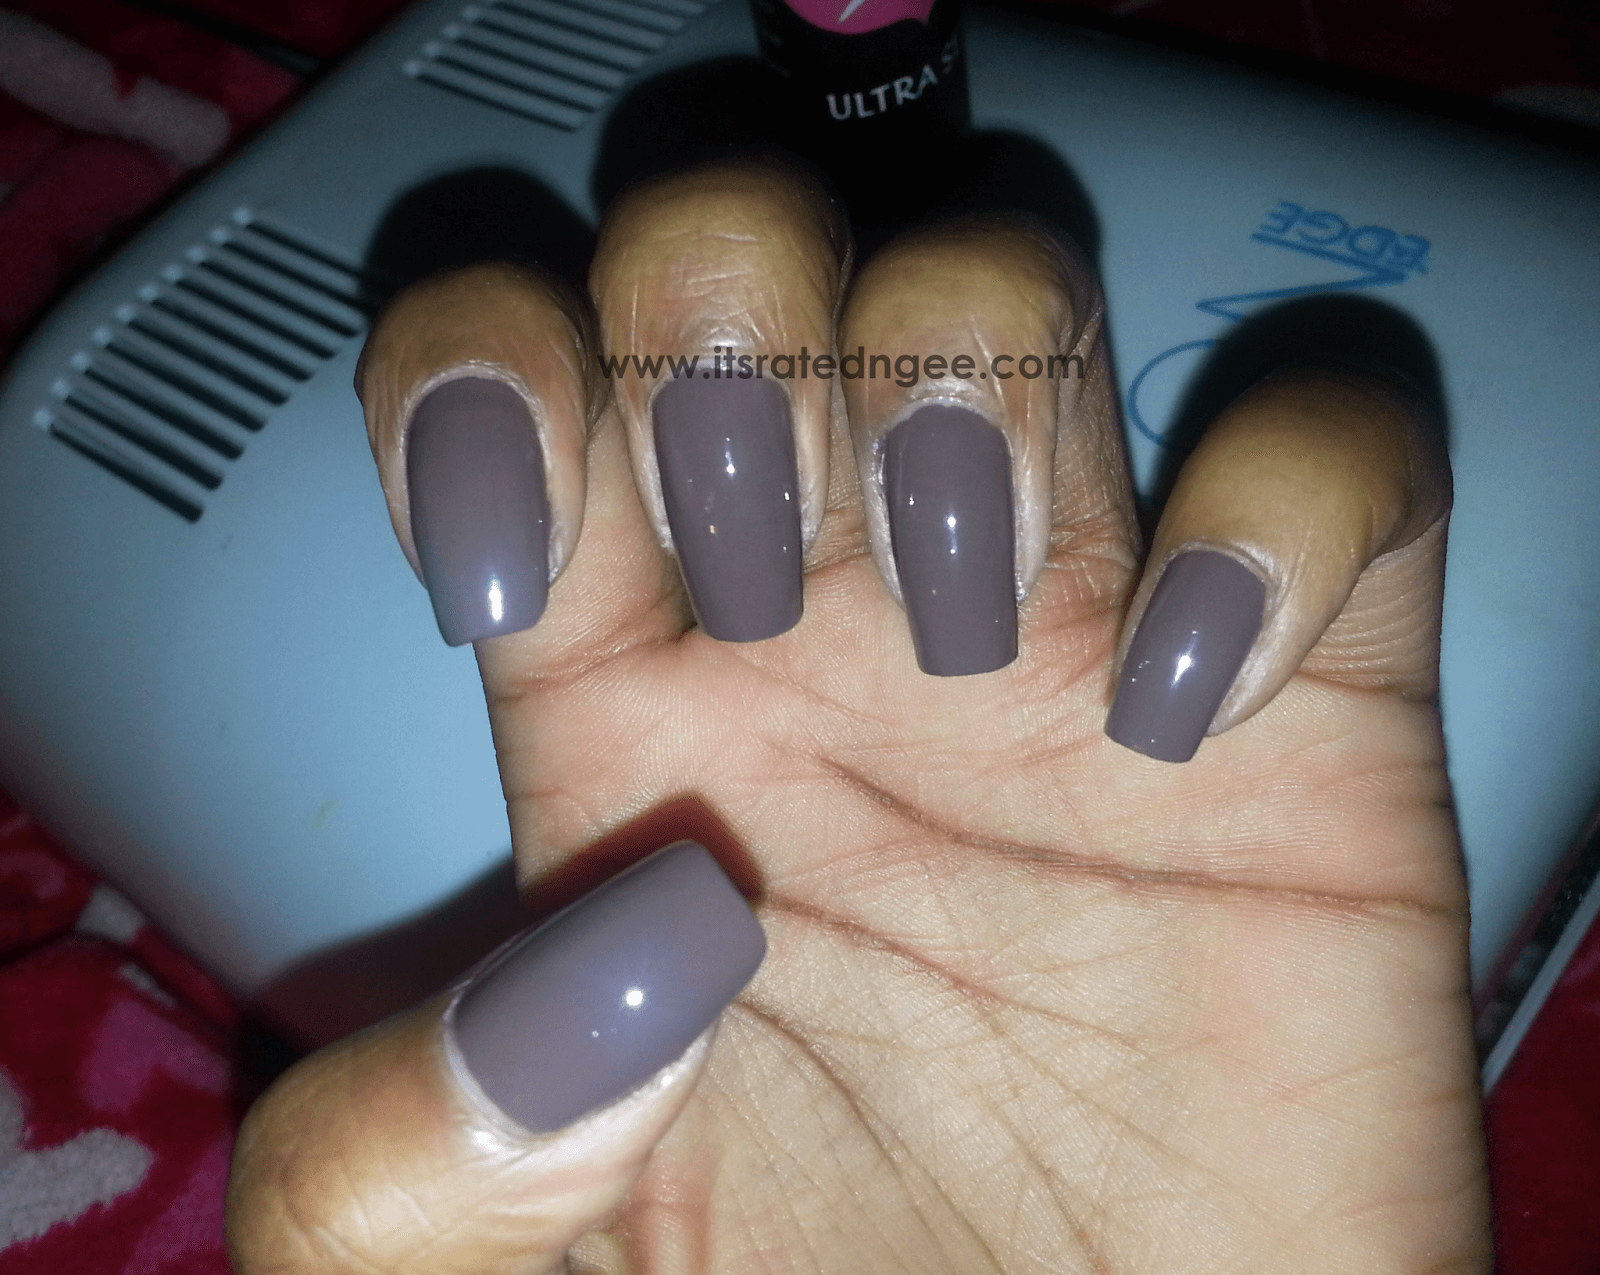
- DIY Gel Manicure Results- And you are finished! The end result should be pure perfection and pretty shiny! If not, practice definitely makes us all better. Don’t you just love a wonderful at home manicure? I know I do! Oh yes… I did the toes too (without gel). Love it?


The ELF polish I used is nice and I love the color but it lasts longer if you don’t do much with your hands. If you do, it seems to chip pretty easily so keep that in mind. Since I knew I would be doing hair the next day, I had it coming. It was gorgeous for the day I did wear it out and about. Got tons of compliments!
Quick Note: For those of you suffering from weak or fragile nails, if you don’t own a UV lamp, or you simply just don’t want to buy one, the Sally Hansen Hard As Wraps Powerful Acrylic Gel is friggin’ amazing! You don’t need a UV lamp to cure, simply let dry and that’s it! One coat should do the job because it is also a pretty thick and since it air dries, it could take longer. (get it here or buy in stores)
Check Out: DIY Gel Manicure Fall Series Pt.2 | Halloween & Pink Boobies For Breast Cancer Awareness Month
Did you enjoy this post? If so share what colors you’ll be rockin this Fall season. I’d love to read your comments below 🙂


Beautiful nails!! I have to try this! This color looks fab on you !
Thank you so much!!!
Thanks! I enjoyed this color a lot!
Oh my goodness This looks awesome! New follower! Looking forward to more posts 🙂
http://www.muslimahluvsmakeup.blogspot.com
Thanks so much!! ^_^
This is one of my favorite colors, it seems to be neutral and flattering for any ethnicity. I've never tried a gel manicure at home, but you offered some great tips, so I might try!
I'm lovingthis color…I'm so pale right now, it may make my hands look like a corpse, though! Nice tutorial, and I will have to check out the Sally Hansen Gel. Thanks!
It surely is. Will look great on any skin-tone for sure! I hope you get to try a gel mani at home soon! 🙂
lol, oh no! I'm sure this color won't do you wrong. So glad I could help and you're so welcome!!