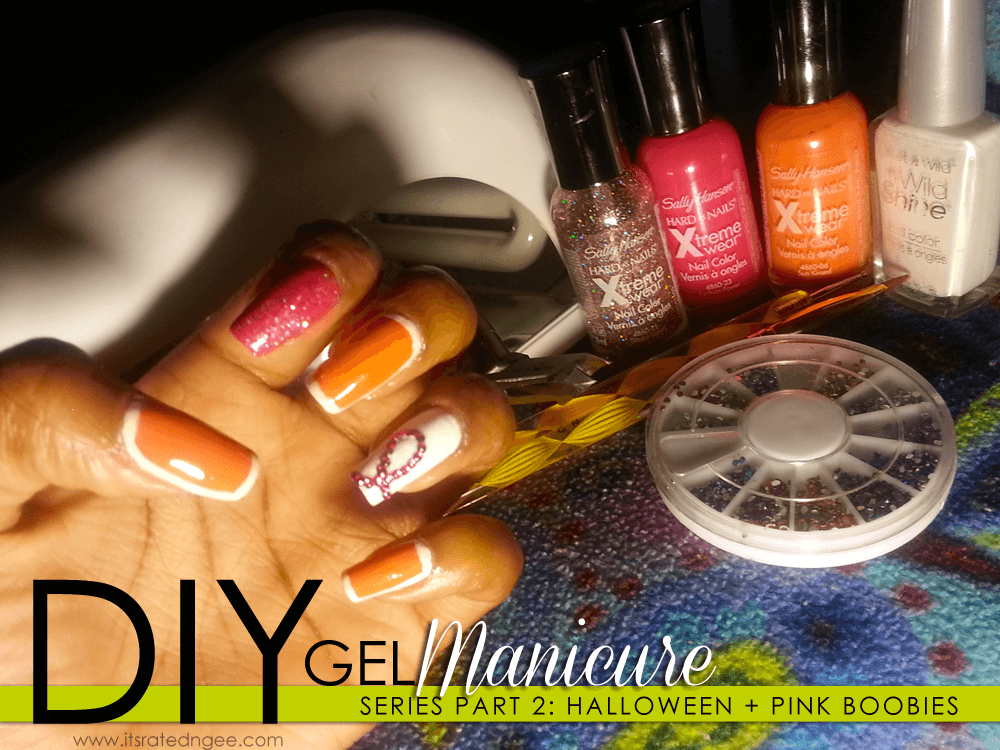
Ay dios mio! Well, I’m back for part two of my first end of the year diy gel manicure series. Since the month of October celebrates not only a festive occasion for trick or treaters, but it also highlights the importance of breast cancer awareness month. Keep your boobies in check ladies!! With the past week being in cahoots and this post being a week late, thanks to my random outbreak of irritating hand eczema, I managed to keep this ball rolling.
Want to know how I achieved this look? Nice way to pay homage to two events without going overboard right? lol
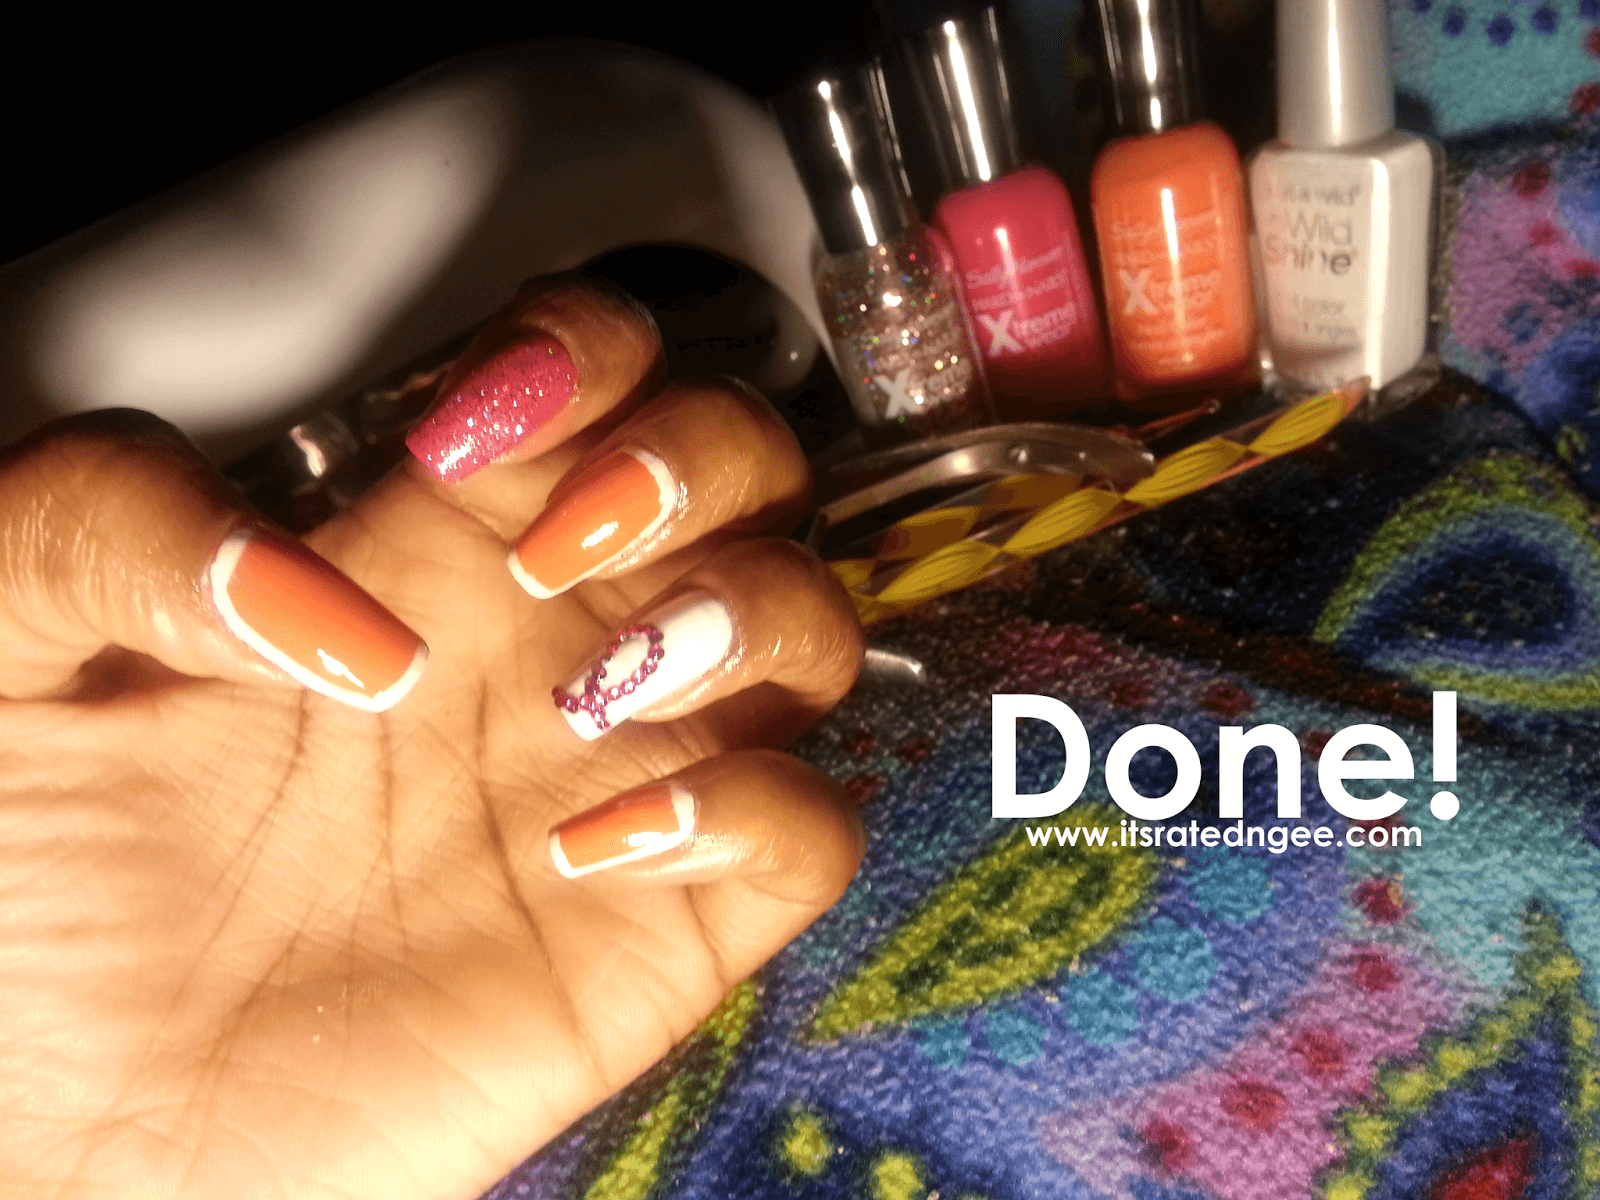
If case you missed part one of this series, click here to check it out. I wanted to create something nice and simple that would last about a week for candy snatching on Halloween and breast support or research. Here are the products I used this week:
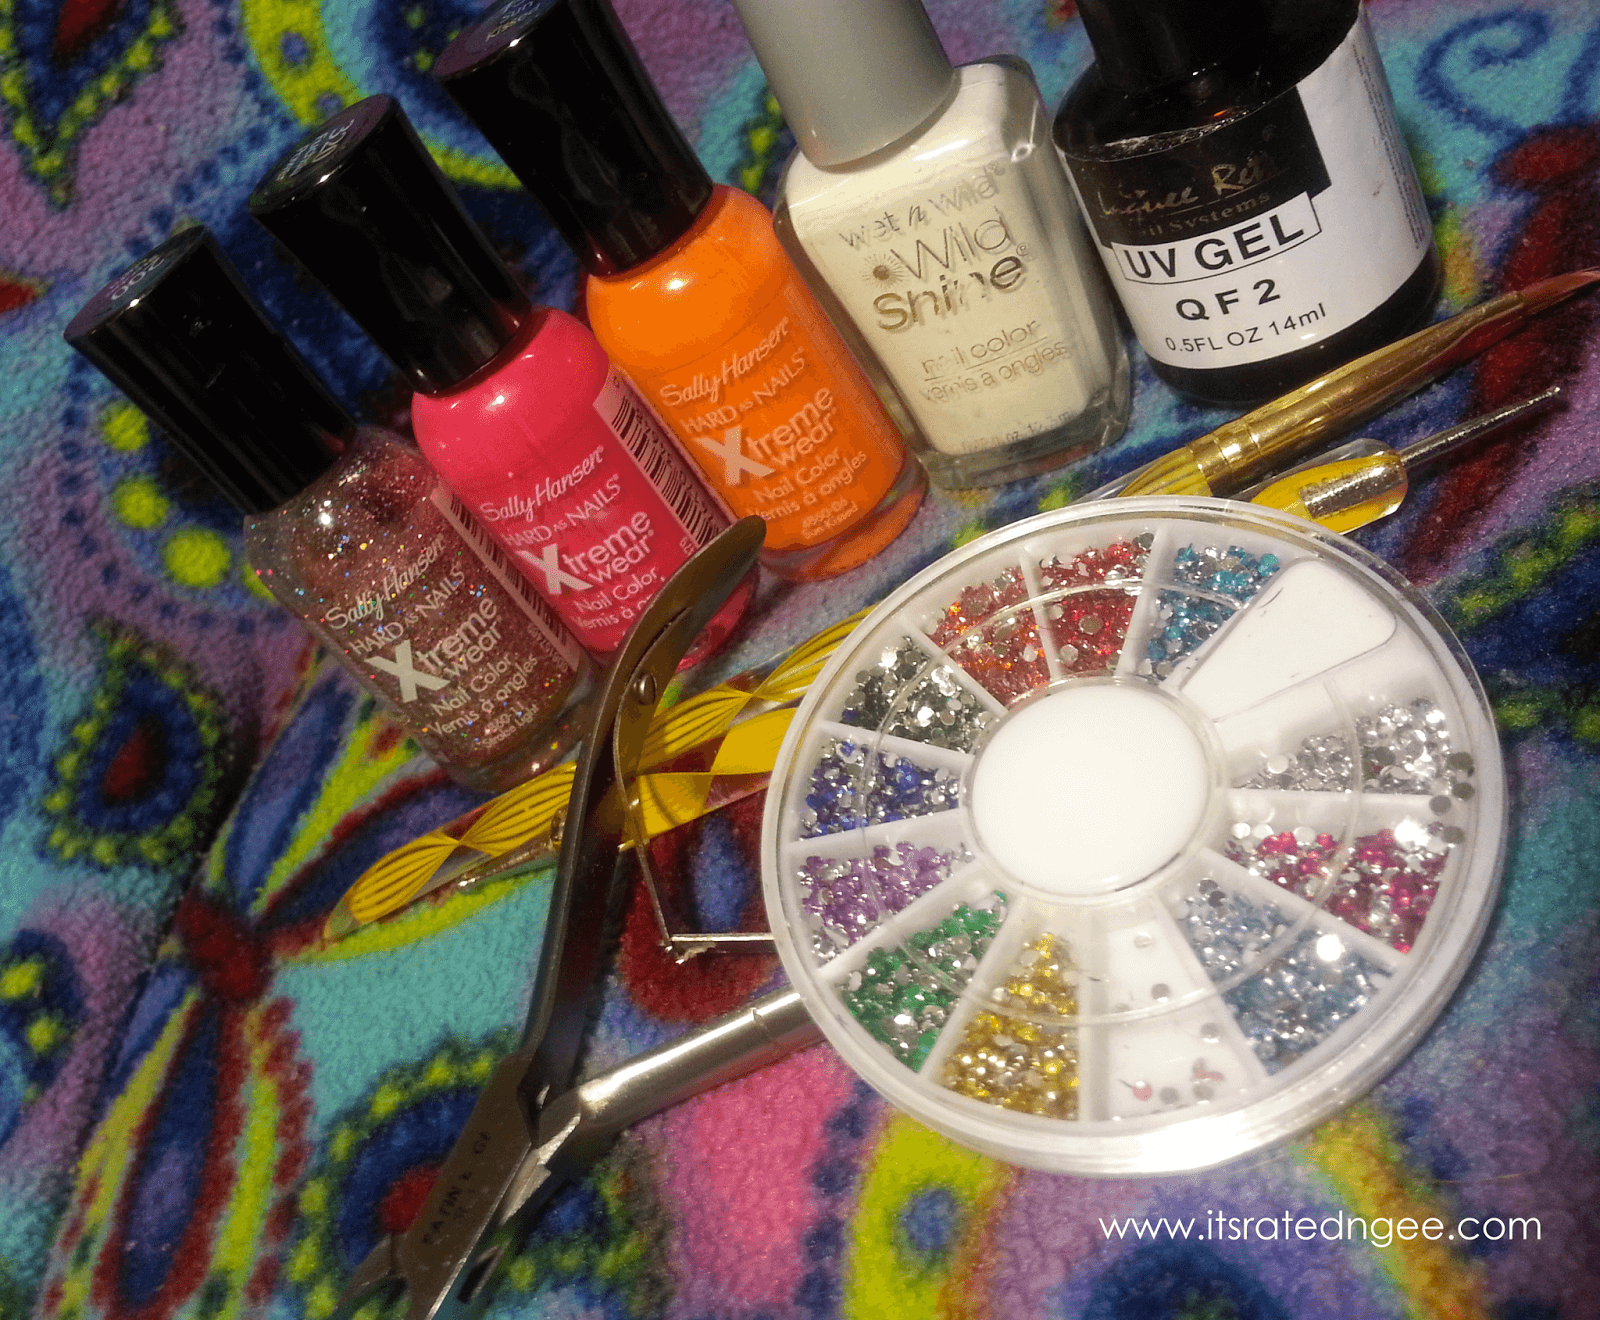
- Salon Edge UV Lamp (get it here)
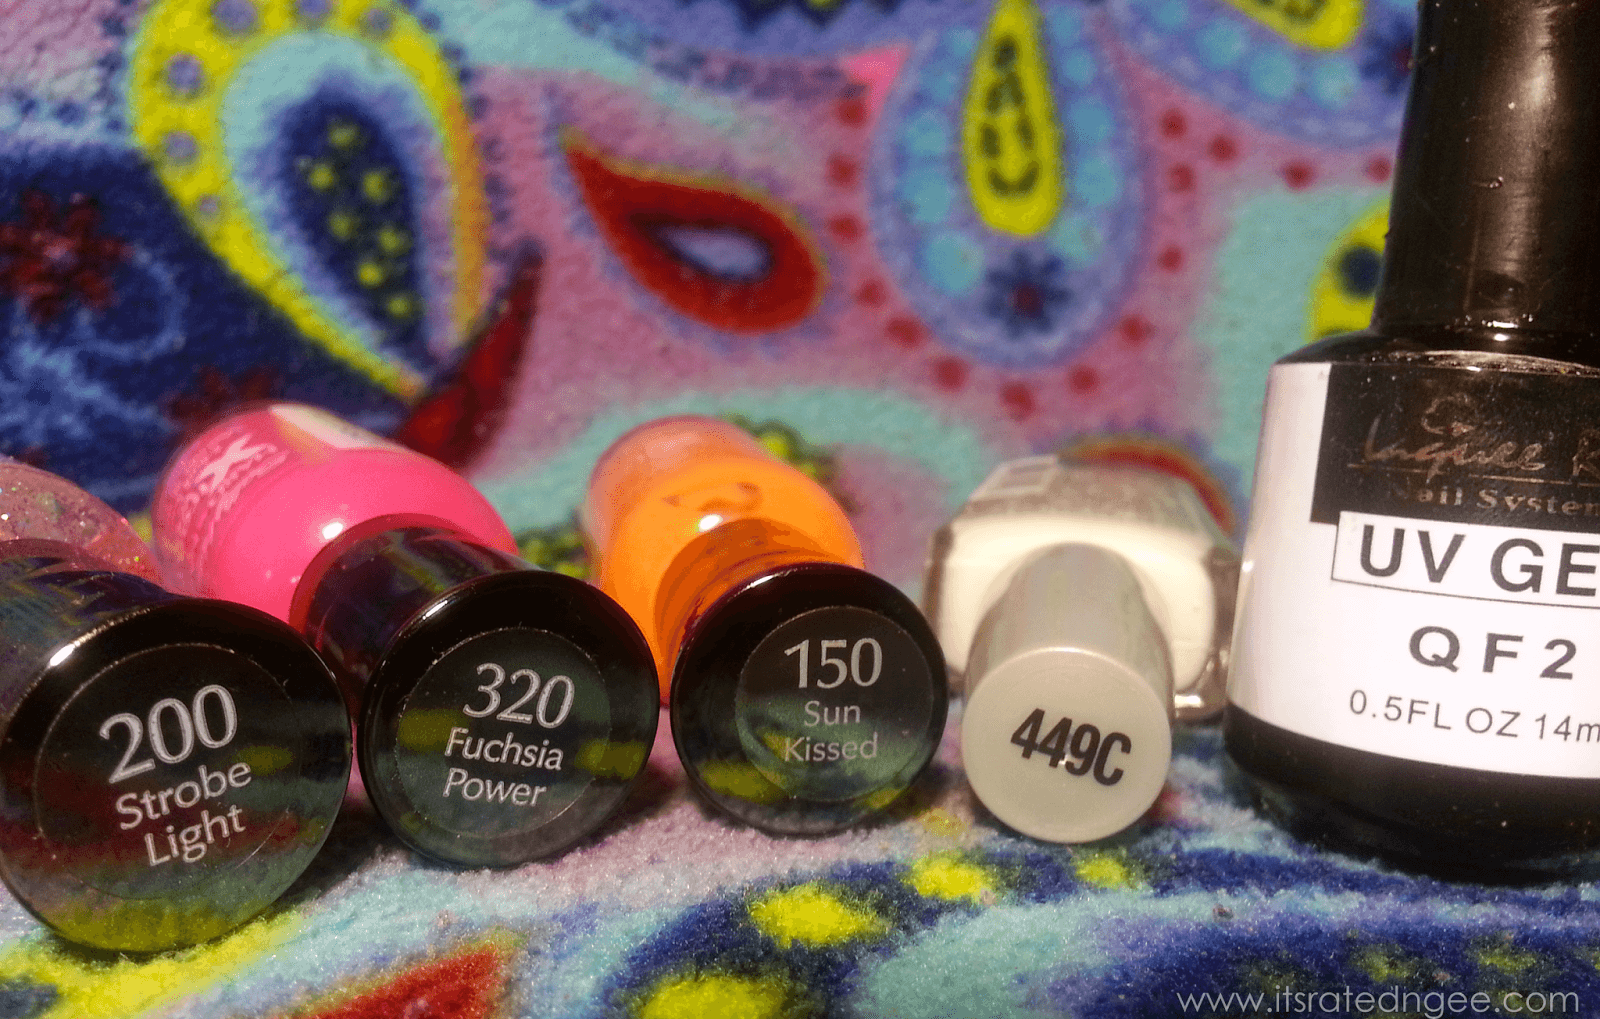
- Sally Hansen Extreme Wear Polish in “Strobe Light” #200 (sometimes Walmart or get it here)
- Sally Hansen Extreme Wear Polish in “Fuchsia Power” #320 (get it here)
- Wet n Wild, Wild Shine Polish in 446C (get it here)
- Sally Hansen Extreme Wear Polish in “Sun Kissed” #150 (get it here)
- LA Colors Nail Treatment Super Strength Polish (get it local BBS or CVS)
- Laquee Reth UV Gel Polish
- Nail Art Dotting Tool (get it here)
- Small Acrylic Nail Brush (get it here)
- Colored Rhinestone Wheel (get it here)
- Cuticle Nipper (get it here)
- Equate Non-Acetone Nail Polish Remover (any drugstore brand will do fine)
- Cotton Rounds or Cleansing Pads (get it here or any local drugstore)
- 70% Isopropyl Rubbing Alcohol (available in any local drugstore or here)
- Vitamin Enriched Cuticle Oil (get it here or use one of your choice)
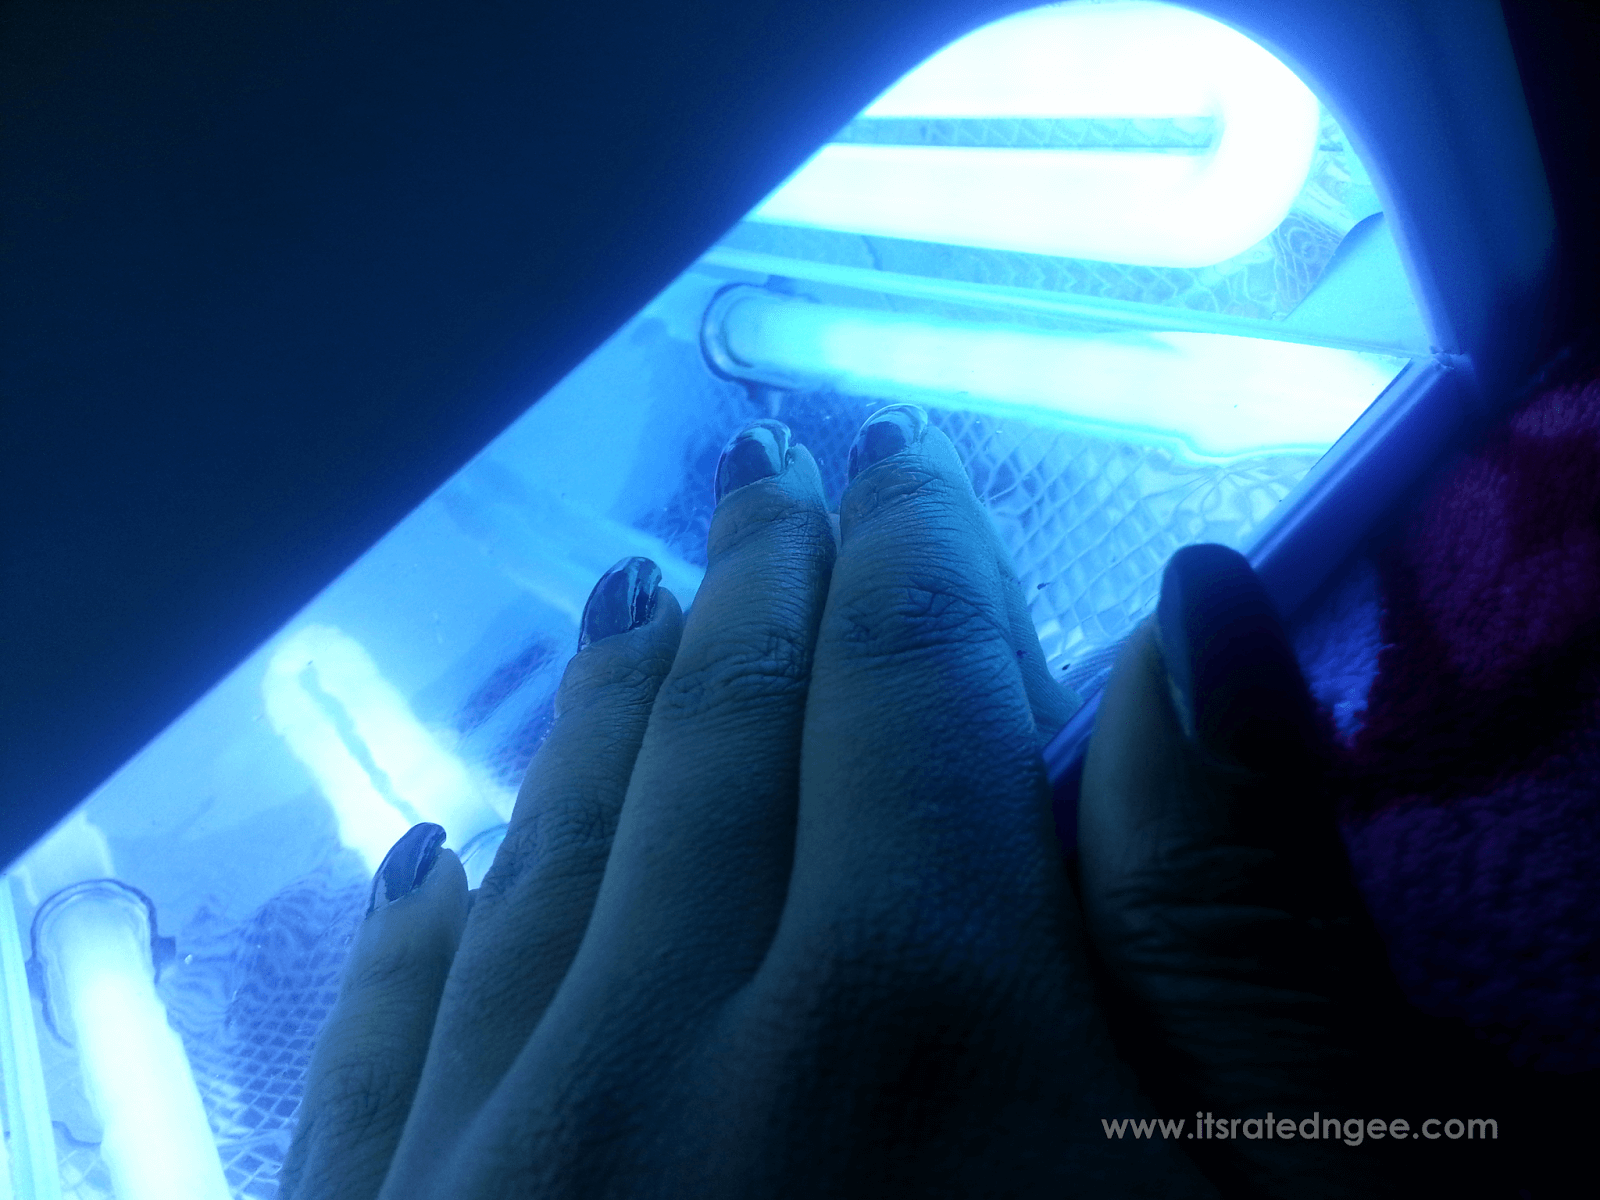
Extensive list, I know. Keep in mind that you ca always use your own products available to you. As stated in my previous diy gel nails post, you want to make sure you start off with clean, DRY, hands. If you are prone to oily nail beds or even if you want longer wear from your polish, cleaning your nail beds with alcohol or using a nail dehydrator is great. I usually do this after shaping and buffing my nails.
- After having prepped your nails, did a small manicure if you needed, etc. Apply one coat of base coat polish to your nails. I used LA Colors Nail Treatment (Super Strength) for this step.
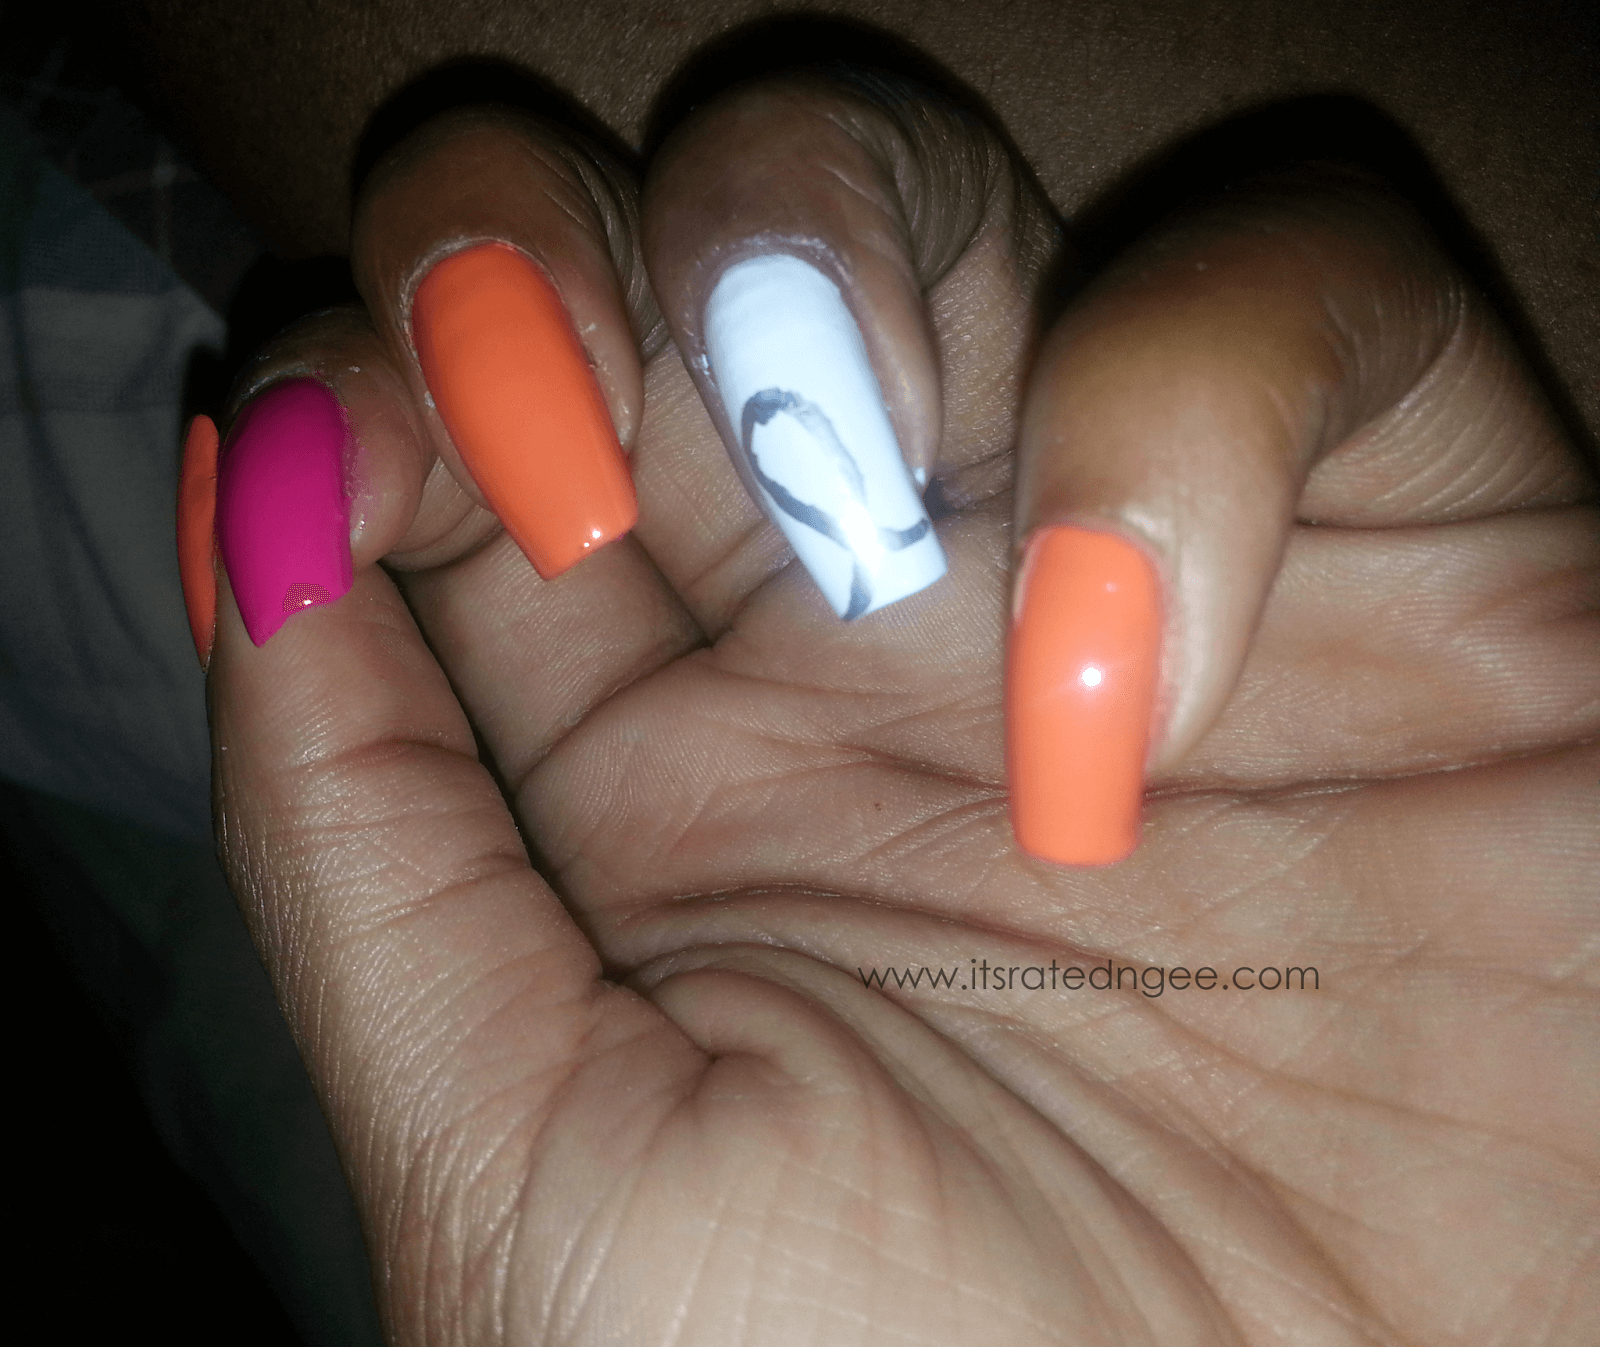
- Next, I began applying nail colors by order of the final art that I had already had in mind. I started with using white, “446C” polish to paint my nail closest to my pinky. From there, I applied the orange, “Sun Kissed” polish to my pinky, middle, and thumb fingers. My pointer finger was last and painted in pink, “Fuchsia Power”. Two full coats per finger. Let dry or in my case, sit under a UV lamp for 60 seconds.
- I stopped to grab a silver Sharpie marker. Why? Well, I wanted to create the outline or guide of a breast cancer awareness ribbon. You don’t have to do this but it helps if you plan to place rhinestones neatly. You can use any tool that will draw on a clean outline for you that won’t really smudge.
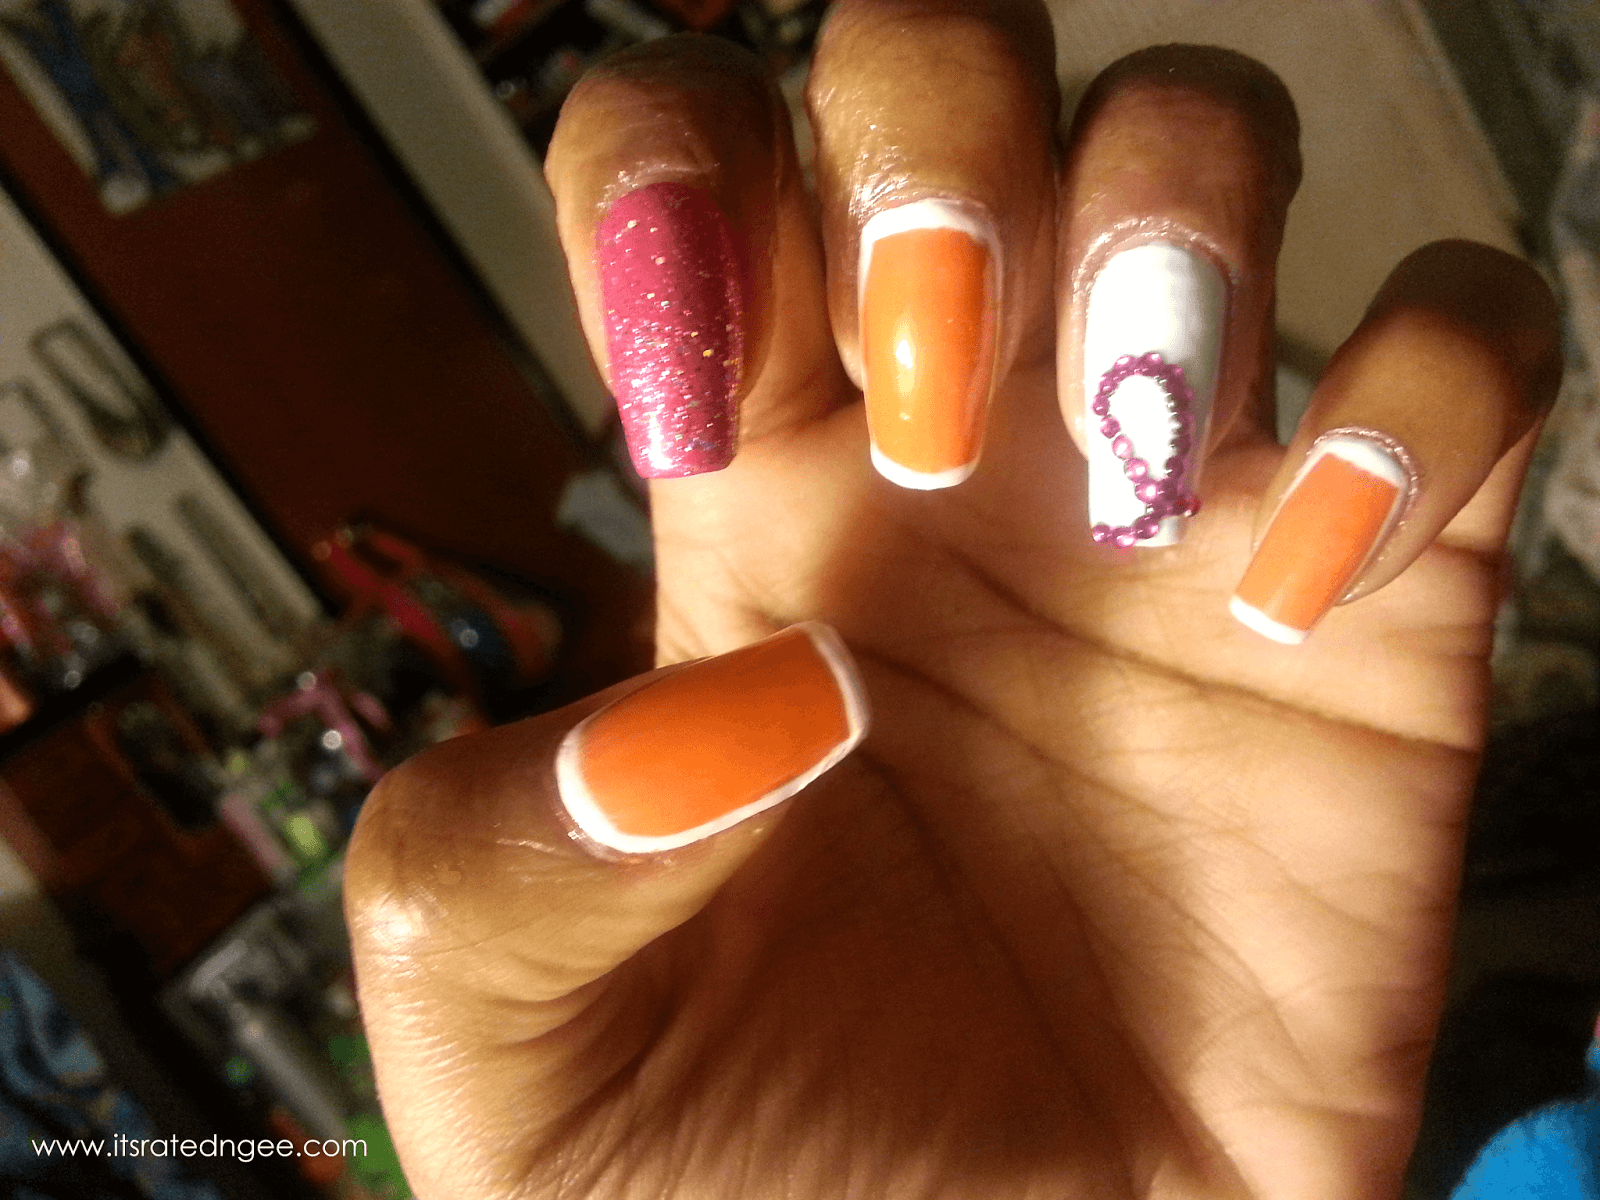
- Apply a light coat of clear polish and add your rhinestones accordingly to follow the outline of the ribbon. Let air dry or cure under the UV lamp for 60 seconds. I then took “Strobe Light” and covered my pointer pink finger with it. I let this dry under UV as well. I also took this time to use a striper to outline my pinky, middle, and thumb fingers in white. Apply UV gel or top coat and cure under lamp for 2 minutes per hand.
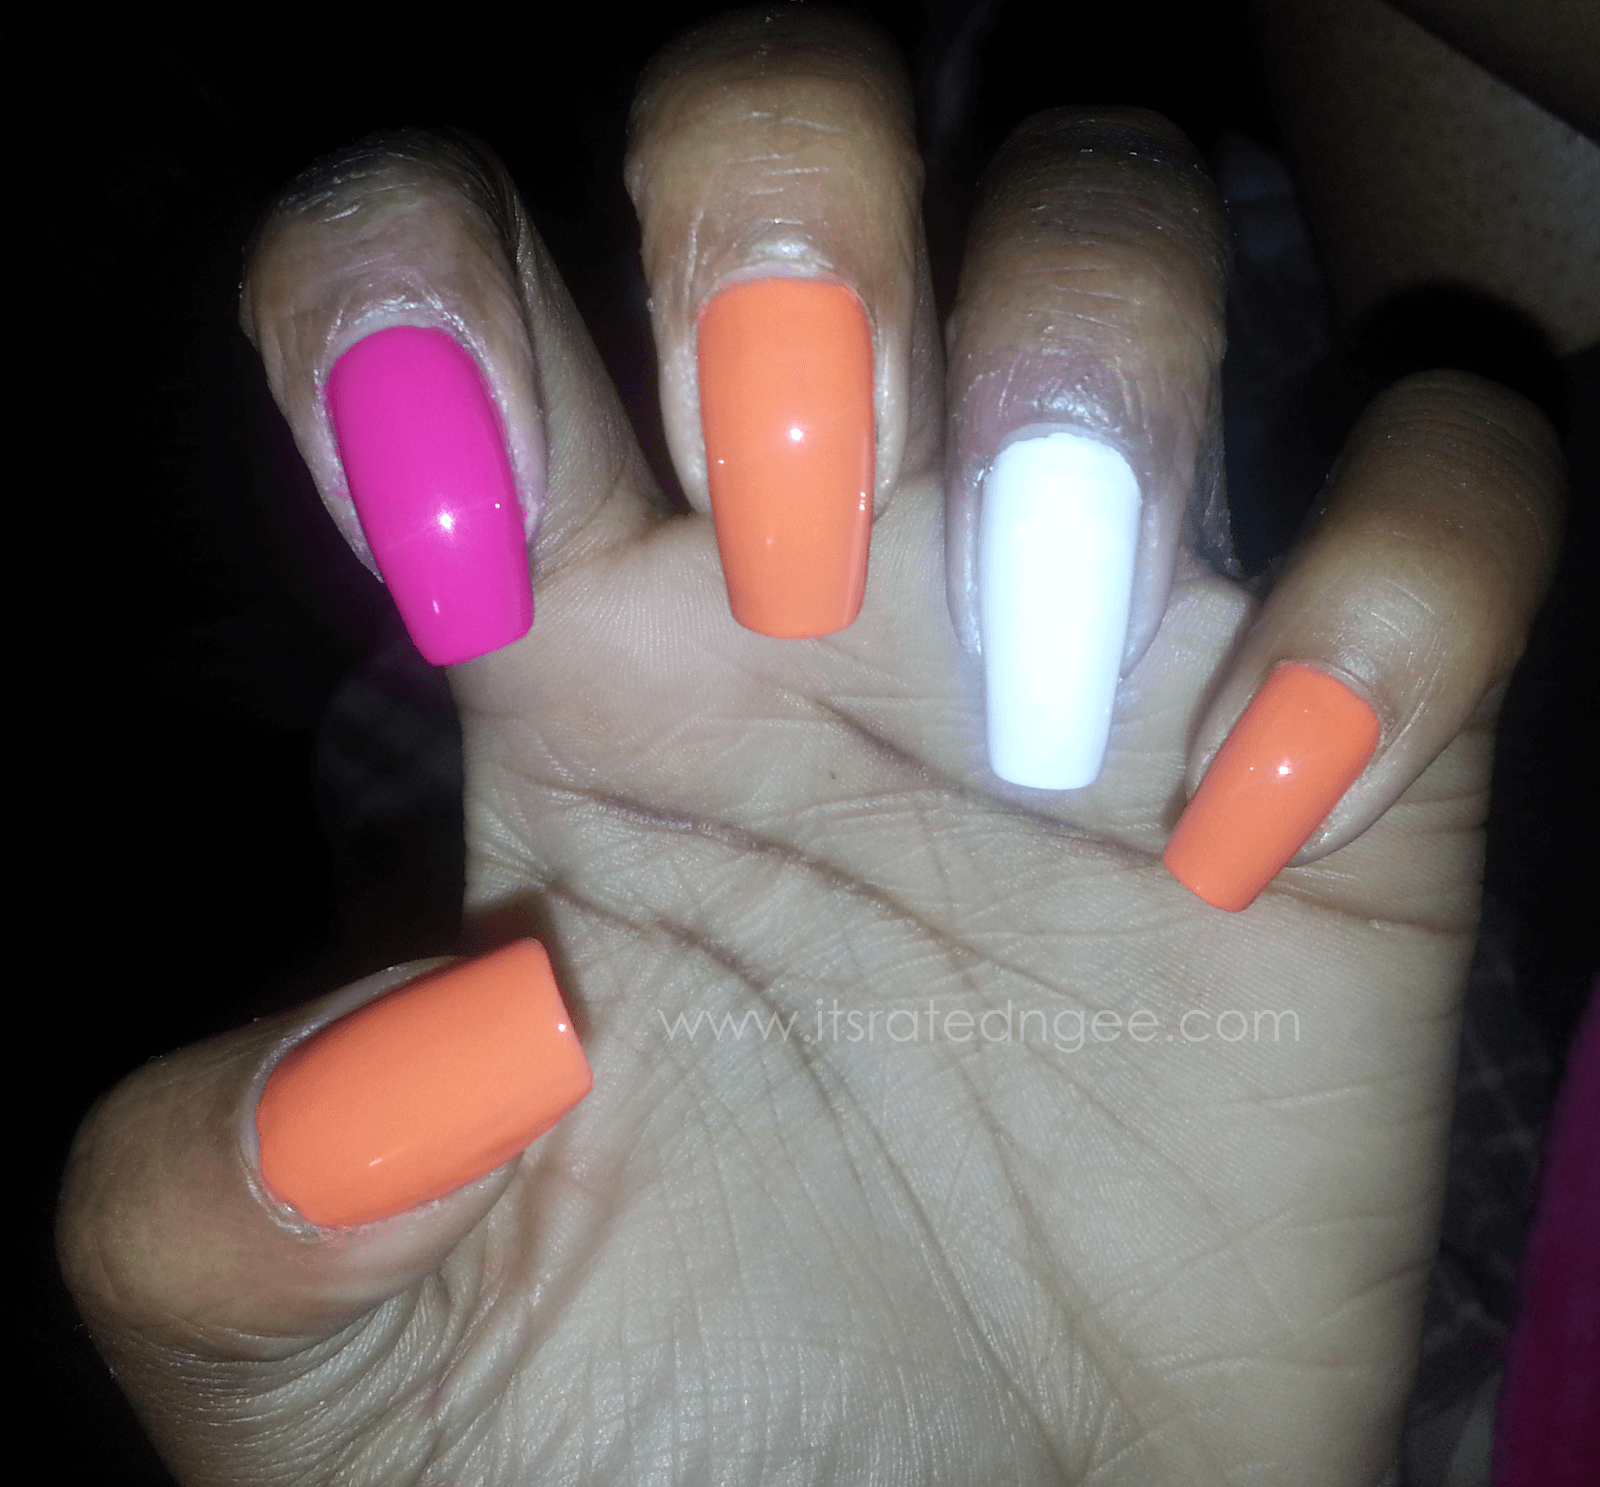
Eh, excuse the rudeness of that flash bouncing off the white polish.lol.
Quick Note: For those of you suffering from weak or fragile nails, if you don’t own a UV lamp, or you simply just don’t want to buy one, the Sally Hansen Hard As Wraps Powerful Acrylic Gel is friggin’ amazing! You don’t need a UV lamp to cure, simply let dry and that’s it! One coat should do the job because it is also a pretty thick and since it air dries, it could take longer. (get it here)
Check Out: DIY Gel Manicure Fall Series Pt.1 | Smoky Brown Beauté
Did you enjoy this post? If so share what colors you’ll be rockin this Fall season. I’d love to read your comments below 🙂

What a fun mani!! #giglove
Thanks so much!!!
Love the whole look! Very chic & inspiring for a great cause =)
Thank you!! I enjoyed it!